Master Drill Bit Sharpening: Science, Tools & Steps
By Diego Castillo • 4th Apr

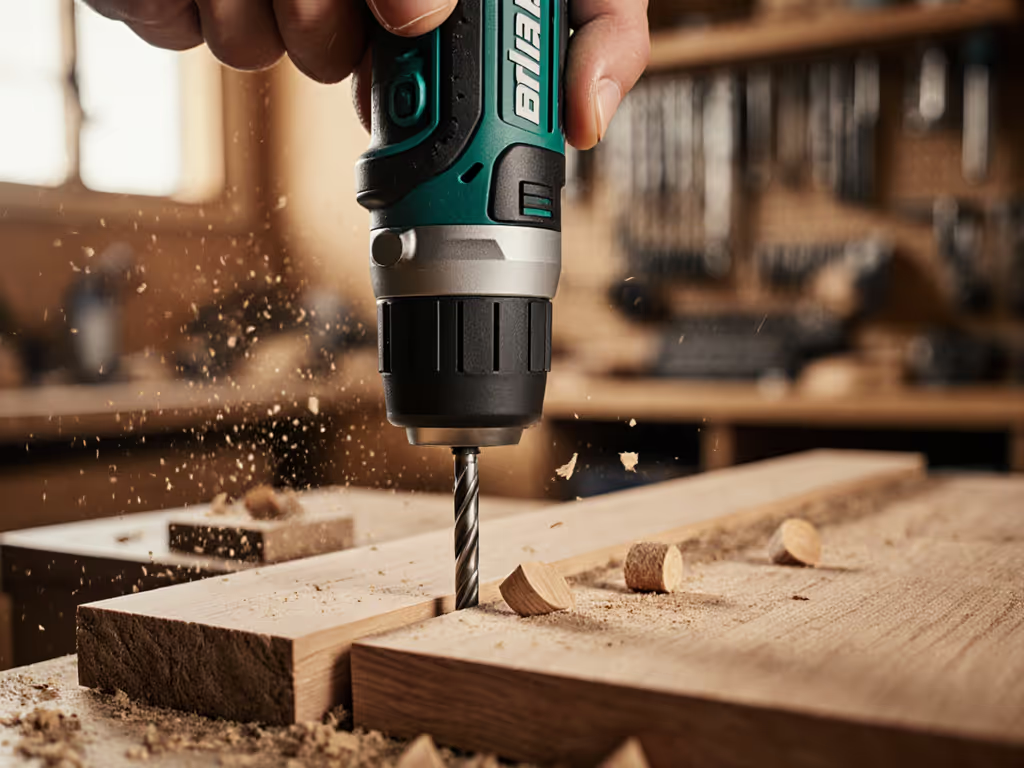
A dull drill bit isn't just frustrating, it's a momentum killer. When you're mid-project and your tool for sharpening drill bits isn't in your toolkit, you either abandon the job or waste time on a blunt hole that wanders. Here's the thing: bit maintenance science isn't mysterious. It's repeatable, it's learnable, and it transforms your relationship with precision drilling.
Sharpening drill bits isn't a trade secret or a task to outsource. With the right understanding of bit geometry restoration, a bench grinder (or even hand methods), and about 20 minutes, you can bring dull bits back to reliable condition. This guide walks you through the science, the tools, and the exact steps, so confidence comes from repeatable wins on your next job.
Understanding the Anatomy of a Drill Bit
Before you touch a grinder, you need to speak the language. Every twist drill bit has three critical features that determine whether it cuts cleanly or wanders.
The lip is the cutting edge, the part that actually removes material. For a hole to be straight and clean, both lips (one on each side of the bit) must be exactly the same size and angle. If one lip is larger, it carries most of the cutting load, and the bit drifts to one side, enlarging your hole.
The land (or landing) supports the lip while cutting. It's angled to create clearance between the cutting edge and the material being drilled. Too shallow an angle and the bit chafes instead of cuts; too steep and you sacrifice support, causing chipping and breakage (especially on the bit's corners).
The chisel is the flat or wedge-shaped edge at the very tip. Reducing the chisel edge slightly makes the bit "bite" more aggressively into material, requiring less pressure.
Understanding these three parts is your foundation. When you sharpen, you're restoring these features to their optimal geometry. For a deeper dive into shapes and cutting mechanics, see our drill bit geometry guide.
The Science: Three Simple Conditions for a Sharp Bit
Before you apply any grinding wheel, know what you're aiming for. A properly sharpened bit meets three non-negotiable conditions.
Condition 1: Symmetrical Point Angle The point angle (the angle formed by the two cutting edges meeting at the tip) must be symmetrical about the bit's center. If one side is sharper than the other, one lip does most of the work, and your hole won't be round. The exact angle is less critical than symmetry; standard angles range from 60 to 130 degrees depending on material, but 60 degrees is the beginner-friendly default for general steel and wood. To match point angles and bit types to each material, keep our drill bit cheat sheet handy.
Condition 2: Even Cutting Edges Both edges must be identical in length and sharpness. Uneven edges produce slightly oversized holes and cause wobbling during drilling, wearing out your chuck and bit life prematurely. If you still notice wobble after sharpening, measure drill chuck runout to rule out chuck alignment issues.
Condition 3: Relief Angle (7-10 Degrees) The back surface of each cutting edge must slope away, creating a small relief angle. Without this angle, the bit rubs against the material instead of cutting, generating excessive heat that damages the bit's temper and degrades steel integrity. A relief angle of 7 to 10 degrees is the sweet spot. When working with harder metals, understanding bit coatings can further reduce heat and wear during drilling.
Hand vs. Machine Sharpening: Which Method Is Right for You?
You have three main pathways: bench grinder, belt sander, or hand sharpening. Each has trade-offs.
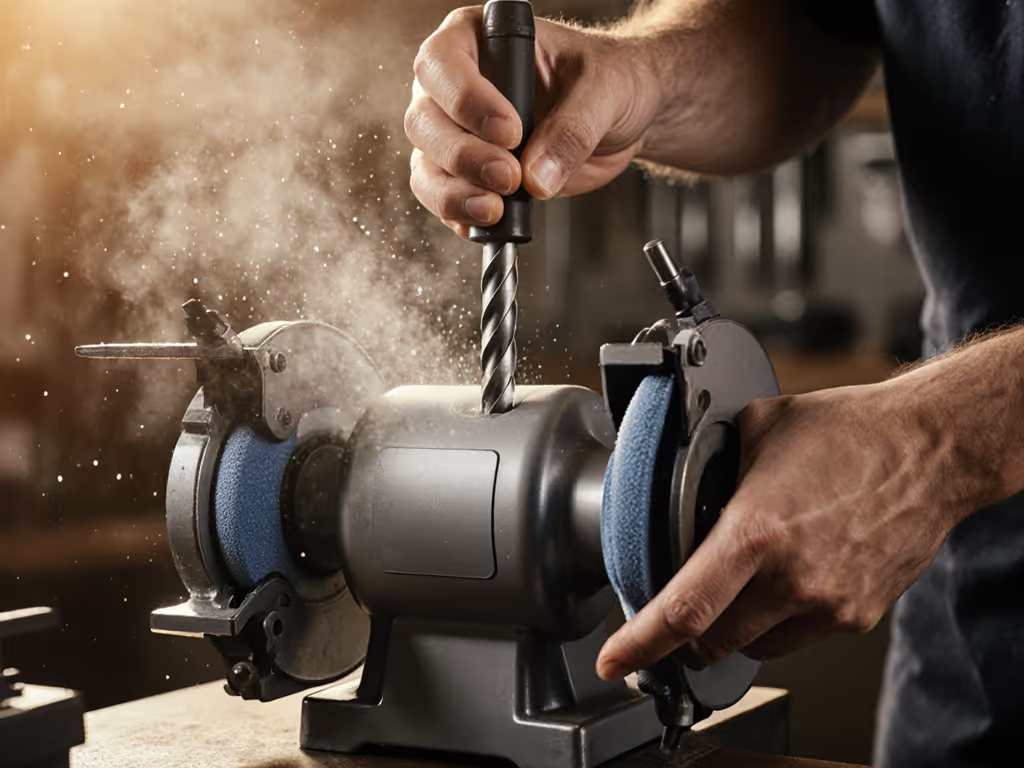
Bench Grinder or Belt Sander
These are the fastest methods for beginners. Set up by adjusting the rest to align with your target angle (typically 60 degrees). Hold the bit firmly but not rigidly against the wheel or belt, using steady pressure while rotating the bit to sharpen both lips evenly.
Advantages: Fast; reproducible angles with a guide; works on multiple bits in one session. Disadvantages: Requires equipment access; risk of overheating if you don't cool frequently; learning curve for consistent angle control.
Hand Sharpening with a Diamond File or Stone
You can restore a bit by hand using a small diamond file, no machines required. This method demands more patience but offers maximum control and is ideal for specialty or carbide-tipped bits.
Advantages: No equipment; portable; safer for delicate bits. Disadvantage: Time-intensive and requires steady hand control; harder to maintain consistent geometry.
Step-by-Step: Sharpening a Drill Bit on a Bench Grinder
Here's the actionable workflow. Start with a clean, inspected bit and 15-20 minutes of focused time.
Preparation (5 minutes)
- Clean the bit: Use a cloth to remove dirt, debris, and old metal shavings.
- Inspect: Check for cracks, chips, or bent flutes. Damaged bits aren't worth sharpening; retire them.
- Set up your grinder: Ensure the grinding wheel is dressed (trued) with a diamond stick to expose a sharp cutting face. Adjust the tool rest to the 60-degree angle. If your grinder lacks a rest, clamp a makeshift jig or use visual reference lines drawn on the platform.
- Fill a cup with cool water: Place it within arm's reach to dip the bit's tip between passes.
Sharpening the First Lip (5 minutes)
- Position your finger: Place your index finger on the grinder's support platform. This serves as a reference point.
- Lay the bit on your finger: The bit should be parallel to your reference lines, and the cutting edge must remain horizontal to the grinding wheel.
- First pass: create relief: As the bit touches the wheel, immediately lift its tip upward. The goal is to remove a small amount of metal at the stroke's start and more at the end. This motion creates the 7-10 degree relief angle.
- Maintain position: Keep the bit level and parallel to your guidelines throughout the stroke.
- Cool as needed: After a few passes, dip the bit in water. If it's too hot to hold, you're weakening the steel.
Sharpening the Second Lip (5 minutes)
- Rotate the bit 180 degrees in your hand.
- Repeat the same motions: Position, first pass with lift, multiple passes to match the first side.
- Check symmetry: Rotate the bit to verify both lips are equal length and angle. If you need adjustment, make light touches.
Finishing Touch: Reduce the Chisel (2-3 minutes)
Optional but recommended: Reduce the chisel edge by holding the bit at roughly a 45-degree angle to the wheel and lightly touching up the tip. This makes the bit bite more aggressively.
Cool-Down
Dip the finished bit in water one final time, then set it aside to cool completely before use.
Time Check: First bit takes 15-20 minutes as you build muscle memory. By your third bit, you'll drop to 8-10 minutes.
Sharpness Measurement Methods: How to Know When You're Done
Feel isn't reliable. Here's how to verify your work.
Visual inspection: Hold the bit up to light. The cutting edges should gleam uniformly along their length. Dark or dull spots indicate flat edges that need more work.
The paper test: Lay a scrap of paper on a flat surface and try to punch a hole with downward pressure and no drill. A sharp bit should catch and tear quickly; a dull bit slides without biting.
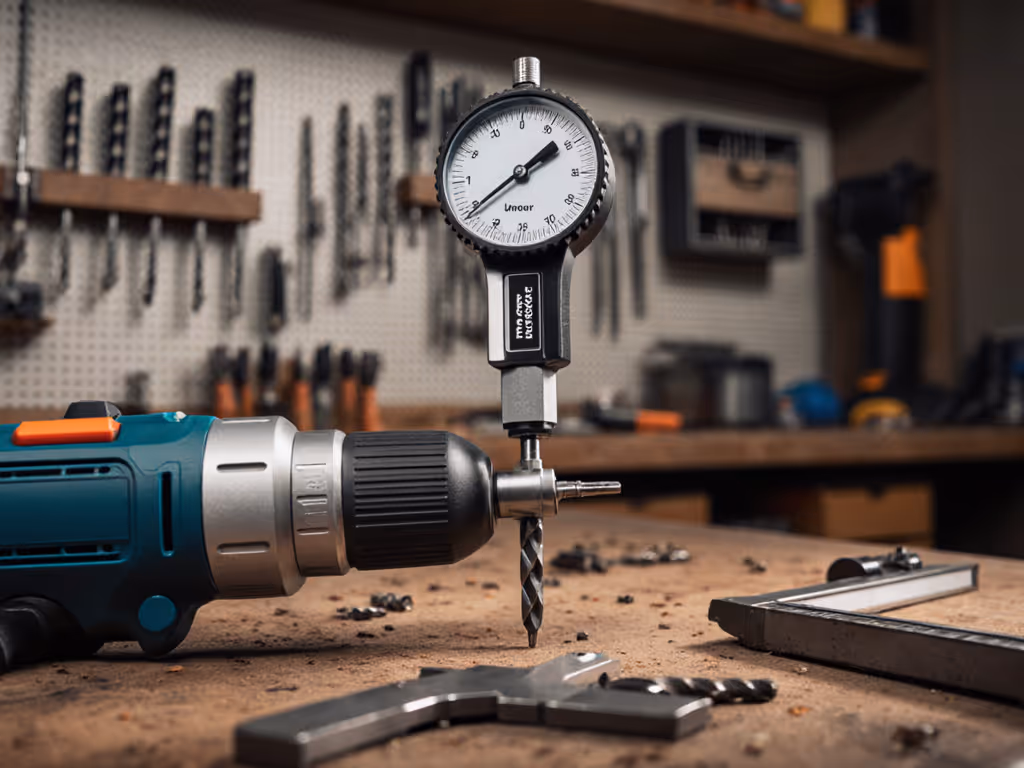
Symmetry check: Rotate the bit and eyeball both lips. They should be the same size and angle. A drill bit gauge can verify this precisely if you're serious about repeatability.
The Performance Impact of Sharpening
Start simple, lock the ecosystem, and let skills compound.
When your bits are dull, everything downstream suffers. You apply more pressure to compensate, wearing out your hand and chuck. The bit wanders, enlarging holes and demanding restarts. Heat buildup shortens the bit's life further.
A sharpened bit requires minimal pressure, travels straight, and cools efficiently. Your drill feels lighter in your hands. Holes are clean. Most important: you regain confidence. In my Saturday makerspace class, I watched a hesitant beginner swap to a freshly sharpened bit and a mid-speed clutch setting, then sink their first straight pilot hole cleanly. The high-five was real, and so was the momentum. They left with a two-battery kit and a repeatable skill, not three gimmicks.
Your Next Step: Build the Habit
Sharpening is a skill that compounds. Keep a small notebook next to your grinder: mark each bit's sharpening date and which jobs it tackled. After 5-10 sharpenings, you'll feel the geometry in your hands and speed up dramatically.
Start with one dull bit this weekend. Spend 20 minutes on it. Feel the difference in your next hole. Once sharpness stops surprising you, once it becomes repeatable, you'll retire fewer bits, stay in rhythm on projects, and prove to yourself that precision isn't locked behind expensive equipment or expert knowledge.
It's locked behind knowing what to do and doing it with intention. Confidence comes from repeatable results.
Confidence Check: After sharpening your first bit, take a moment to verify symmetry using the light test. If both edges gleam equally, you've nailed it. If one side is duller, return to the grinder for 2-3 light touches on that side, cool, and re-check.
Related Articles