Drill Bit Geometry: Why Shape Dictates Performance
By Diego Castillo • 11th Jan
As a makerspace instructor who's guided hundreds of beginners through their first drilling projects, I've learned that drill bit geometry is the silent partner in every clean, precise hole. When we understand how cutting edge design works with our materials (not against them), we transform frustration into confidence. The geometry isn't just technical jargon; it's the reason your bit glides through wood instead of burning it, or why some bits walk all over metal surfaces. Match the right shape to your material, and you'll compound that beginner confidence into repeatable success with every project.
Understanding Point Angles: Your First Line of Defense
The point angle is the V-shaped tip where cutting begins. Think of it as the drill bit's personality, it determines how aggressively it enters the material. Let's break it down simply: If you want a fast reference by material, bookmark our drill bit materials cheat sheet.
What Point Angles Mean for Your Projects
- 118-degree angle: The friendly generalist. Works well for softwoods, plastics, and softer metals. It's what most "all-purpose" bits use. Great for beginners because it's forgiving.
- 135-degree angle: The precision specialist. Better for stainless steel, cast iron, or other hard materials. This steeper angle prevents "walking" (when the bit skids across the surface instead of biting).
Why this matters: If you're drilling into hardwood or metal with a 118-degree bit, you'll fight more resistance and might burn your material. The point angle impact is real: too shallow, and the bit wanders; too steep, and it struggles to penetrate.
Safety reminder: Always use a center punch on metal before drilling. This gives your bit a starting point and prevents dangerous slippage, especially important with shallower angles.
Practical Application Checklist
- For wood/plastic: Stick with 118°
- For harder metals: Opt for 135° or a split-point design
- For beginners: Start with brad-point bits for wood (they self-center and reduce the need for pilot holes)
I remember a hesitant student in my Saturday class who kept struggling with metal drilling. Once we switched them to a steeper angle bit and showed how to center-punch properly, they drilled their first straight pilot hole cleanly. That small win built immediate momentum, and they left with a focused toolkit instead of an overloaded one. That's the power of matching geometry to task.
Web Thickness: The Hidden Strength Factor
The web is the solid center portion running the length of your drill bit. Its thickness affects both durability and cutting efficiency:
Thick vs. Thin Web Tradeoffs
| Web Type | Best For | Watch Out For |
|---|---|---|
| Thick web | Hard materials like metal, masonry | Requires more force; generates more heat |
| Thin web | Soft materials like wood, plastic | Can flex or break in harder materials |
Thicker webs provide stability for tough jobs but need more torque to turn. Thin webs cut faster in softer materials but can wander or snap if pushed too hard. The right web thickness for your project reduces vibration and extends bit life (two things beginners rarely consider but instantly appreciate when they feel the difference). If vibration is wearing you out or throwing off accuracy, see our drill vibration control guide.
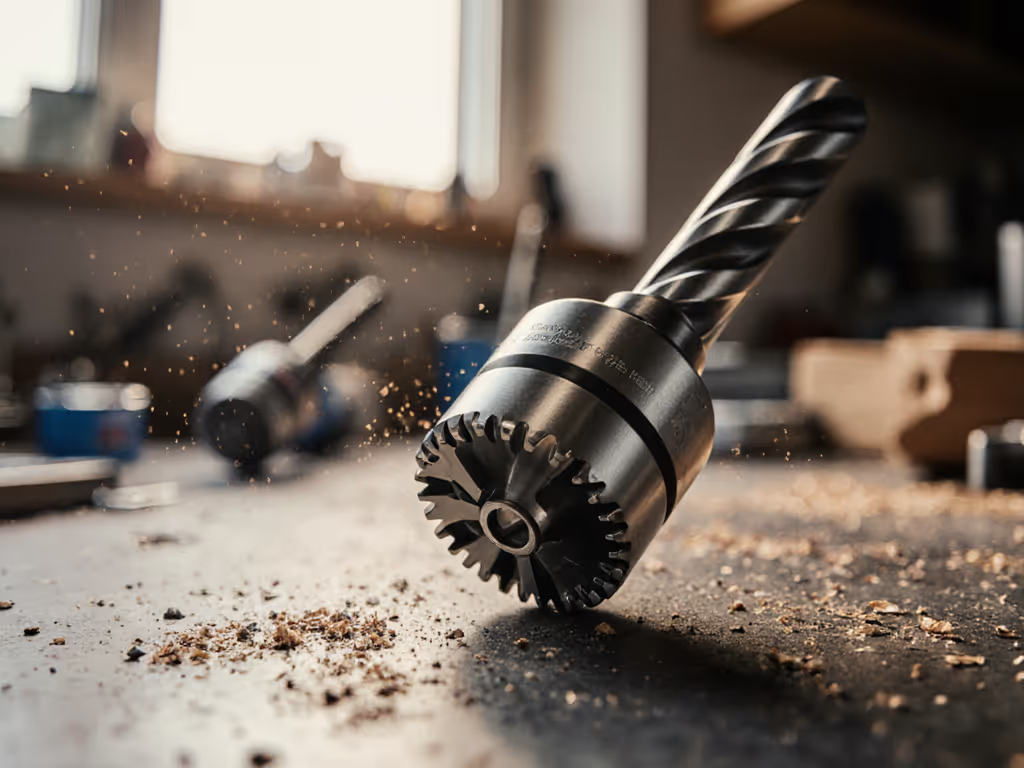
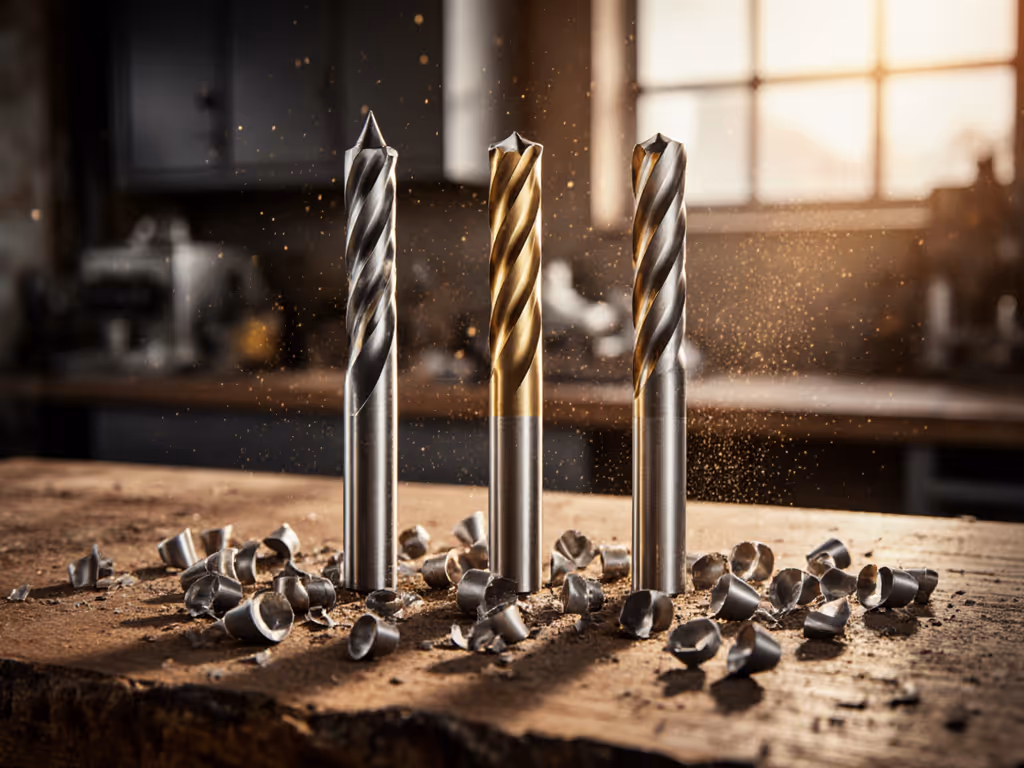
Flute Configuration: The Unsung Hero of Clean Holes
Flutes are the spiral grooves that carry chips away from your cutting zone. This flute configuration is why some bits clear debris smoothly while others clog instantly.
Key Flute Principles
- Wider flutes: Better for soft materials (wood, plastic) where chips are larger and need room to evacuate
- Narrower flutes: Better for metal where chips are fine and need controlled removal
- Deep flutes: Allow faster drilling in softer materials but sacrifice some strength
- Parabolic flutes: Specifically designed for deep hole drilling (they evacuate chips efficiently while maintaining rigidity)
When explaining this to beginners, I compare flutes to a highway system: too few lanes (narrow flutes) cause traffic jams (clogged bits), while the right configuration keeps material flowing out smoothly. Your bit shouldn't be fighting its own debris.
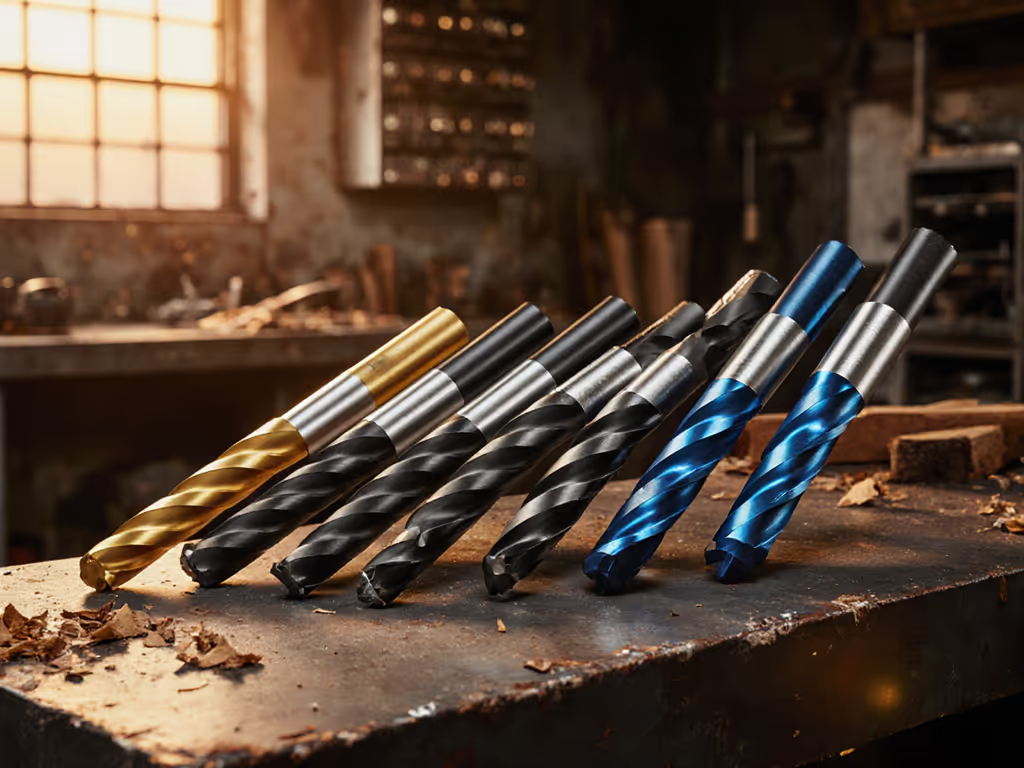
Material-Specific Bit Shapes: No Universal Solution
This is where most beginners make their biggest mistake: they try to use one "general purpose" bit for everything. But material-specific bit shapes exist for good reason:
Woodwork Success
- Use brad-point bits with a sharp center spur
- They prevent tear-out on wood surfaces
- Deeper flutes for faster chip removal
- Thinner web for less resistance
Metal Mastery
- Split-point tips for self-centering
- Thicker web for stability
- 135° point angle for harder metals
- Cobalt or titanium coatings for heat resistance
Masonry Magic
- Carbide-tipped with straight flutes
- Flat points designed for hammer action
- Optimized for impact, not rotation
One smart buy beats three compromises when you select purpose-built bits for your primary material. I always tell my beginners: "Start with three quality bits for your most common material, not ten cheap all-purpose bits that do nothing well."
Safety and Setup: Your Foundation for Success
Even perfect bit performance factors won't save you if safety isn't baked in from the start:
Essential Prep Checklist (2 minutes)
- Secure your workpiece - Nothing should move when drilling starts
- Check bit sharpness - Dull bits wander and require more force
- Match speed to material - Wood: high speed; metal: slow and steady To understand how speed and torque translate to real results, read our torque vs RPM guide.
- Apply light, consistent pressure - Let the bit do the work
- Wear safety glasses - Always, without exception
Most beginners push too hard, thinking more pressure equals faster drilling. In reality, you're just creating more heat and risk of bit breakage. Gentle, consistent pressure yields straighter holes and longer bit life.
Your Action Plan: Turning Knowledge into Confidence
Here's how to apply this today without overwhelming yourself:
- Identify your most common material (wood, metal, or masonry)
- Get one quality bit designed specifically for that material
- Practice on scrap pieces at different speeds
- Note what works - does it cut cleanly? Stay centered? Evacuate chips well?
That first successful hole isn't just a hole, it is compound confidence. When your bit geometry matches your material, you're not just drilling; you're building competence with every rotation. Start simple, lock the ecosystem, and let skills compound. Soon you'll be selecting the perfect bit for each task without hesitation.
One smart buy beats three compromises, so invest in understanding drill bit geometry, and you'll never second-guess your hole quality again.
Related Articles