Cordless Power Drill Maintenance Made Simple
By Diego Castillo • 3rd Oct
Let's face it: your cordless power drill is the heartbeat of your DIY projects. But if you're not caring for it properly (especially the drill battery care), you'll waste more time troubleshooting than building. I've seen beginners in my weekend classes lose confidence after a single jammed chuck or drained battery, not realizing these common issues vanish with 10 minutes of weekly TLC. Today, I'll show you how simple maintenance turns frustration into flow. Start simple, lock the ecosystem, and let skills compound.
Practice on scrap; then commit.
Why Maintenance Matters More Than You Think
Many new tool owners skip maintenance because they assume "brushless = maintenance-free." Not true! While modern drills are tougher, neglecting basics like cleaning or battery storage shaves years off your tool's life. Think of it like wearing seatbelts: you hope you never need it, but it prevents disaster. In my Saturday class, a hesitant beginner swapped to a shorter bit and a mid-speed clutch click, then sunk their first straight pilot hole. That tiny win? It came from tools working reliably (not luck).
Here's what happens when you skip maintenance:
- Dust-clogged chucks cause wobble, ruining precision
- Cold batteries lose 30% capacity (a fact confirmed by battery industry studies)
- Sticky triggers lead to stripped screws or kickback
The good news? You only need 5 to 10 minutes weekly. Follow this step-by-step guide to avoid buyer's remorse and keep your drill ready for every project.
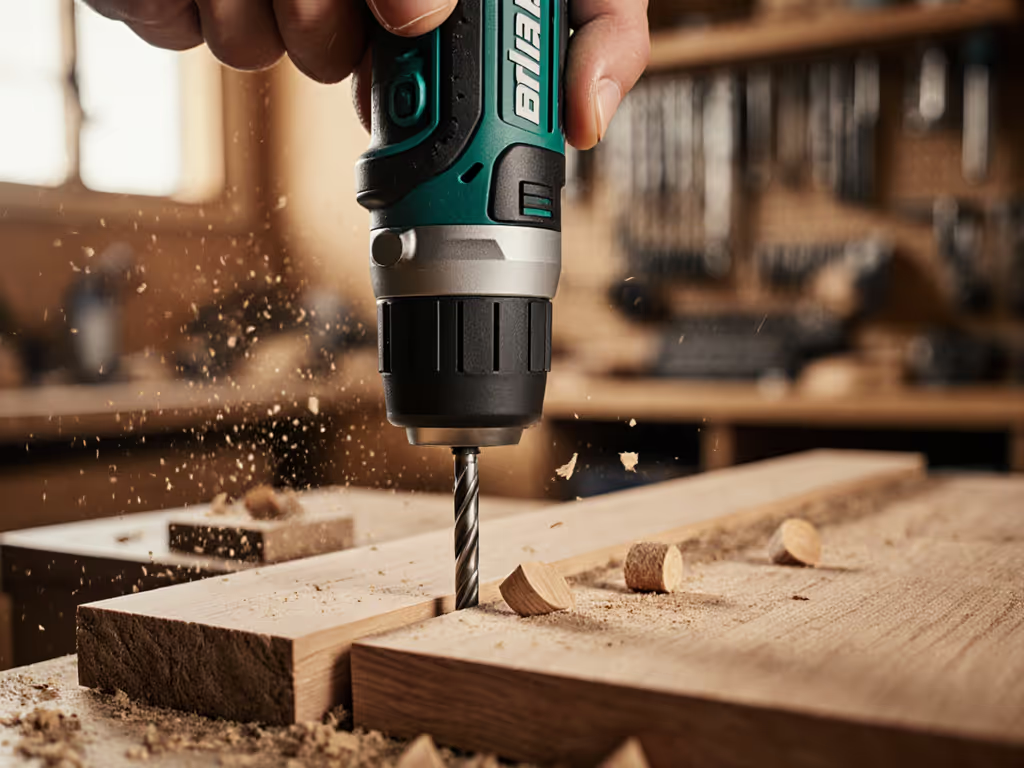
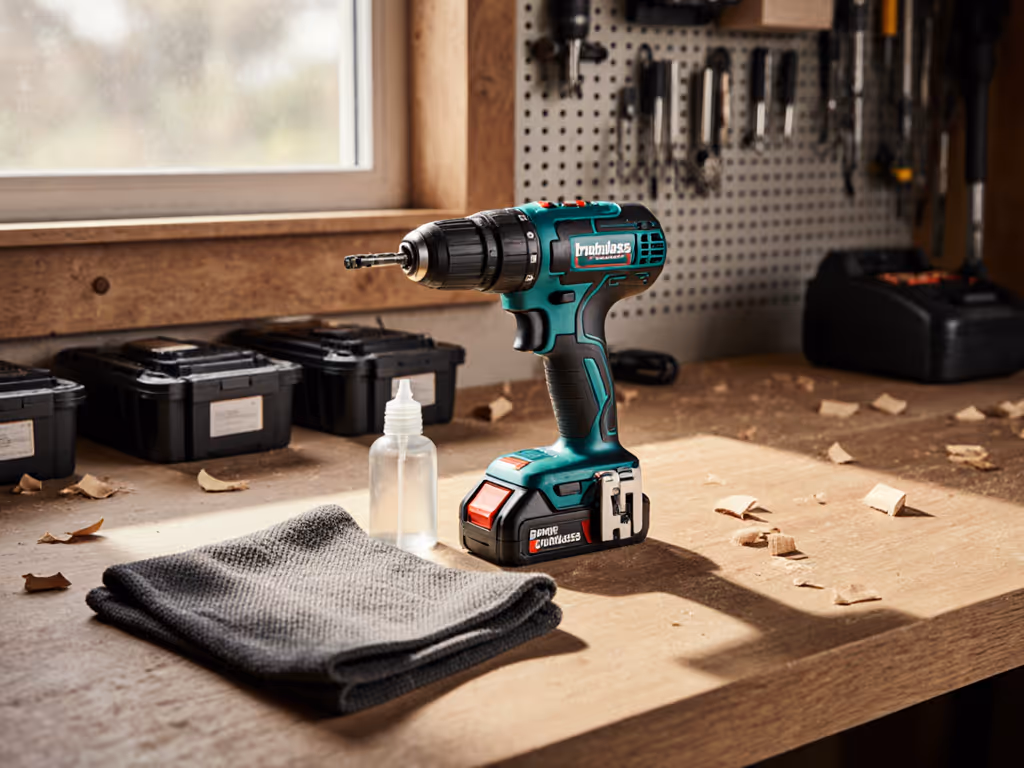
Step 1: Clean Your Drill (The 3-Minute Reset)
Why: Sawdust, metal shavings, and drywall mud slowly bake into your drill's guts. This grit accelerates wear on the chuck and motor bearings. Industry reports show 67% of "dead" drills actually just need cleaning!
You'll need: Soft brush (old toothbrush works), microfiber cloth, compressed air can ($5 at hardware stores).
Cleaning Checklist:
- Remove battery first (safety non-negotiable!)
- Blow out debris with compressed air:
- Around trigger guard
- Into chuck jaws (open chuck fully first)
- Around motor vents
- Scrub gently with brush:
- Focus on chuck threads and gear housing
- Never use water; use a damp cloth only for exterior
- Wipe dry with microfiber cloth
Time: 3 minutes. Do this after every project.
Pro Tip: Skip the toothpaste hack! Abrasives scratch metal. Stick to dry methods.
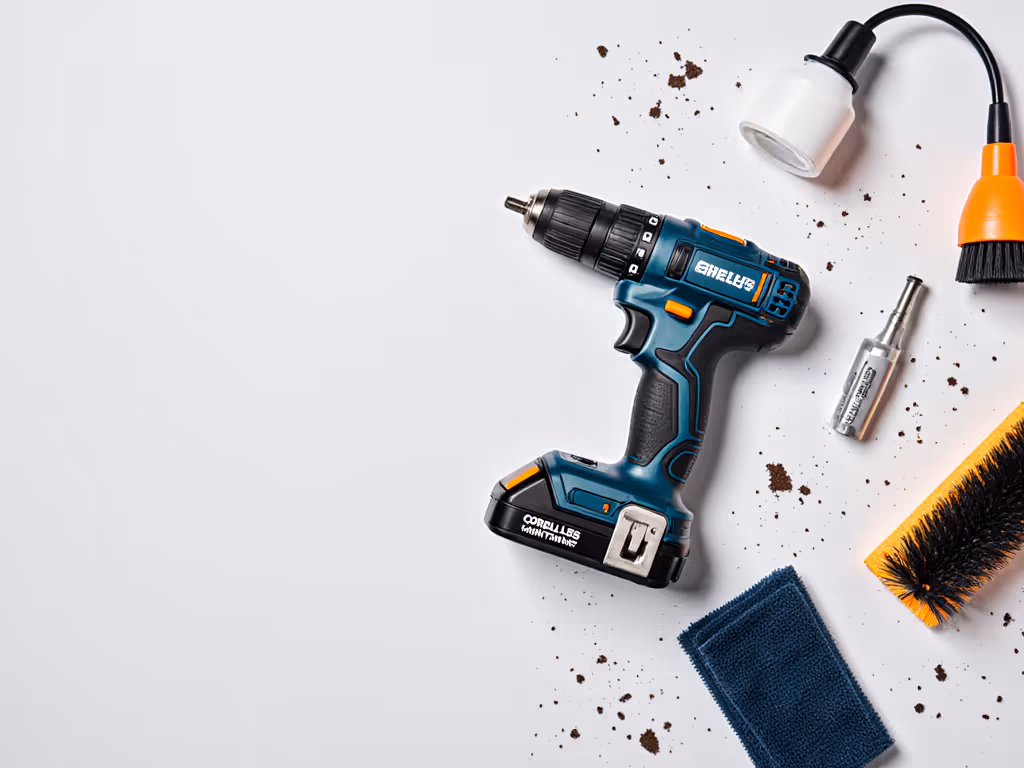
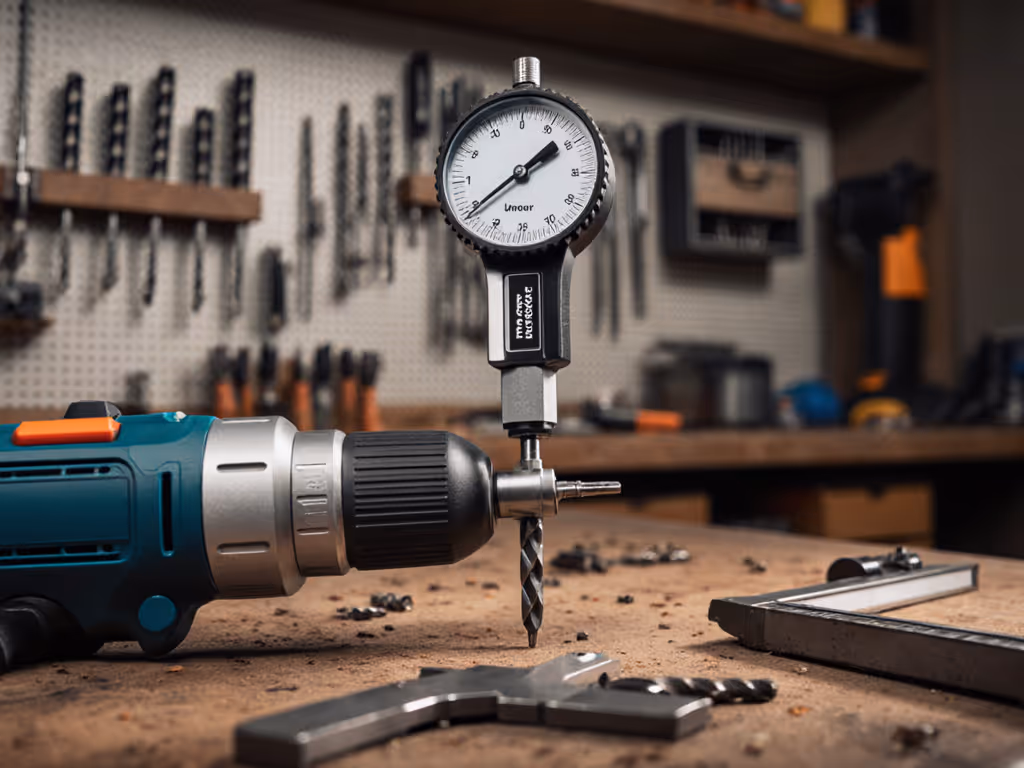
Step 2: Master Drill Chuck Maintenance
What is the chuck? It's the rotating clamp holding your bit (the 3-jaw collar near the drill tip). A loose or gritty chuck = wobbling bits = ruined holes.
Quick Maintenance Routine:
- Open chuck fully (rotate collar counter-clockwise)
- Spray 2 drops of lithium grease (not WD-40!) into jaws
- Why lithium? It won't attract dust like oil-based lubes.
- Cycle chuck open/close 5 times to spread grease
- Wipe excess with cloth (never leave residue)
Frequency: Every 4 to 6 weeks (or weekly for daily use).
Warning: Too much grease traps debris. Less is more!
Step 3: Drill Battery Care That Actually Works
This is where most beginners fail. I've seen $200 kits ruined by poor battery storage tips. Lithium-ion batteries hate three things: extreme heat, full discharges, and long-term storage at 100%.
Battery Care Checklist (5 Minutes/Month):
- After use:
- Remove battery before cleaning drill
- Let cool 20 minutes (heat kills capacity)
- Storage:
- Store at 40-60% charge (not full!)
- Keep in dry place under 80°F (27°C)
- Avoid garages/cars in summer (heat >104°F degrades batteries 35% faster)
- Long-term storage (>1 month):
- Discharge to 50%
- Check charge every 3 months
Real example: One student stored batteries in her hot attic. By winter, they held half the runtime. After switching to a cool closet? Full power returned. (Confirm this with your manual; some brands like Bosch offer cold-weather batteries.)
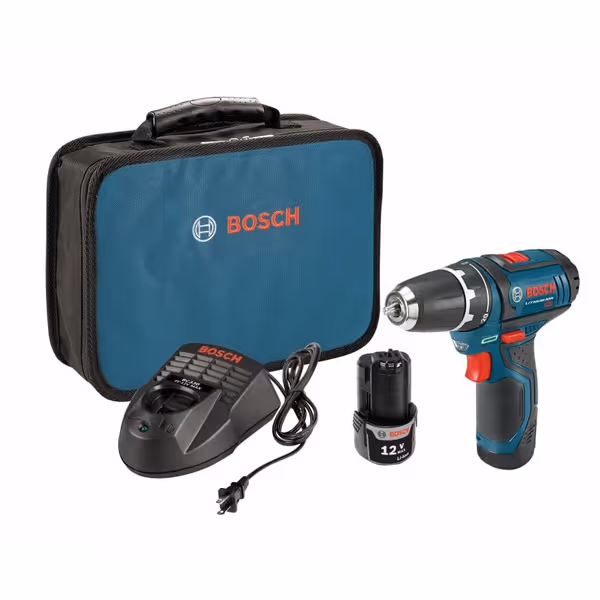
BOSCH PS31-2A 12V Max Drill/Driver Kit
Compact, lightweight 12V power for precision and fatigue-free home projects.
$138.79
Weight1.80 lbs
Weight1.80 lbs
Pros
Ultra-light and compact for tight spaces and overhead work.
Precise 20+1 clutch prevents stripped screws and blowouts.
Efficient 12V system perfect for daily DIY without bulk.
Cons
Not ideal for heavy-duty construction or large fasteners.
Customers find this cordless drill to be a decent tool for basic home projects, with sufficient battery life and comparable power to full-size models. They appreciate its compact size, lightweight design, and ease of use, particularly for small jobs around the house. Customers praise its functionality, with one noting it performed exceptionally well in difficult circumstances.
Customers find this cordless drill to be a decent tool for basic home projects, with sufficient battery life and comparable power to full-size models. They appreciate its compact size, lightweight design, and ease of use, particularly for small jobs around the house. Customers praise its functionality, with one noting it performed exceptionally well in difficult circumstances.
Step 4: Smart Storage Habits for Power Tool Longevity
Stop tossing your drill in the trunk! Where you store tools affects longevity more than usage. Here's my makerspace-approved storage protocol:
Optimal Storage Setup:
| Do | Don't |
|---|---|
| Store in original case or wall-mounted rack | Leave in damp basements |
| Keep batteries separate from tool | Store with bits inserted (stresses chuck) |
| Place silica gel packs in case (prevents corrosion) | Stack heavy items on top |
Pro move: Rotate two batteries even if you only use one daily. Why? Lithium-ion cells degrade faster when idle. Using both spreads wear evenly (critical for power tool longevity).
Your Action Plan: Start Small, Build Momentum
Remember that beginner who high-fived me after her first perfect hole? She didn't buy a fancy kit. She started with one drill, cleaned it weekly, and stored batteries properly. Six months later, she's added an impact driver to her ecosystem (no duplicate chargers, no wasted cash).
This week's challenge: Pick one step from above and do it today. Maybe:
- Clean your drill after your current project
- Check battery storage location (garage? Bad idea.)
- Grease your chuck while watching TV
When you build maintenance into your workflow, your tools become extensions of your hands (not sources of stress). Confidence compounds when your first kit matches your first jobs and timeline. And when you're ready to grow? You'll already have the habits to make it stick.
Practice on scrap; then commit. Your future self will thank you when that drill's still running strong five years from now.
Related Articles