Brushless Drills Explained: Why Power Lasts Longer
By Diego Castillo • 3rd Oct
When you're shopping for your first brushless drill, you'll notice the term brushless motor technology plastered across packaging and ads. But what does it actually mean for your weekend deck build or kitchen remodel? Forget engineering jargon, let's unpack why this innovation turns frustrating interruptions into uninterrupted momentum. If you've ever killed a battery mid-screw or dreaded the "brushed vs brushless" debate, this guide is your roadmap to confident tool choices that last.
As a community makerspace instructor, I see beginners wrestle with analysis paralysis every Saturday. They'll demo a basic drill, strip three screws, then eye premium models like they're choosing between a compact car and a truck. Truth is? Brushless isn't about more power, it's about smarter power. That's why my core teaching mantra stays simple: Start simple, lock the ecosystem, and let skills compound. Here's how to apply it.
1. What "Brushless" Really Means (No Engineering Degree Required)
First, let's define terms before we dive deeper. Traditional brushed motors use carbon brushes that physically contact spinning parts to deliver electricity. Imagine dragging your hand along a fence while running, it creates friction, heat, and wear. That's why brushed drills often:
- Overheat after 10 minutes of continuous use
- Lose battery life faster under heavy loads
- Need brush replacements every 1-2 years
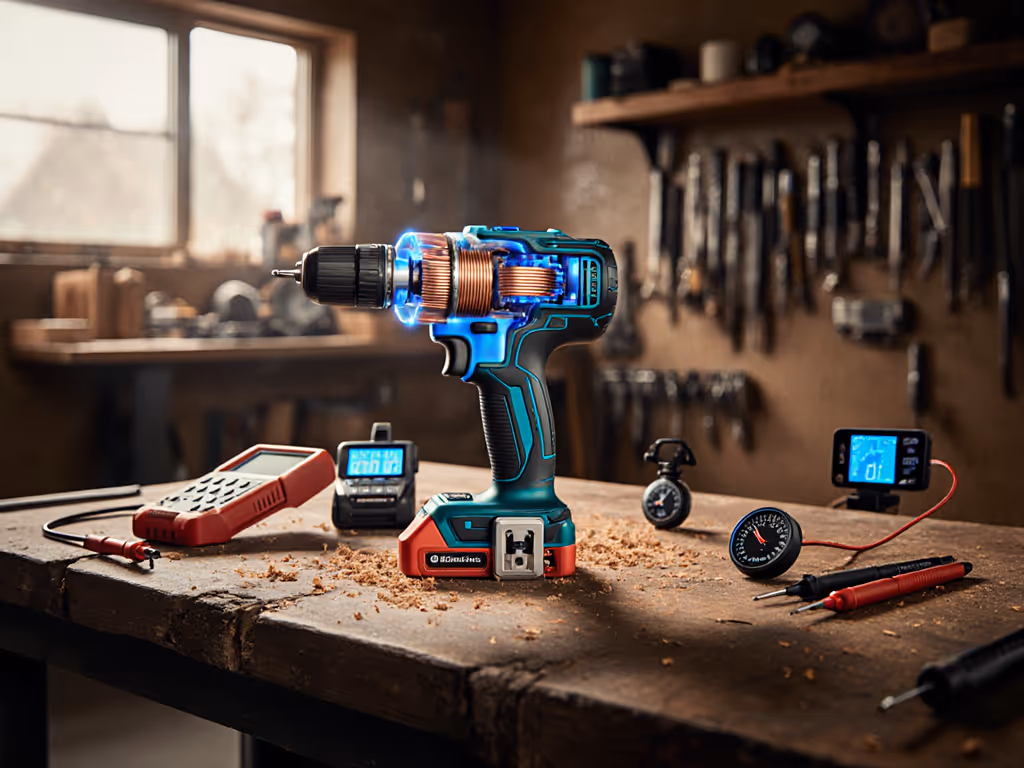
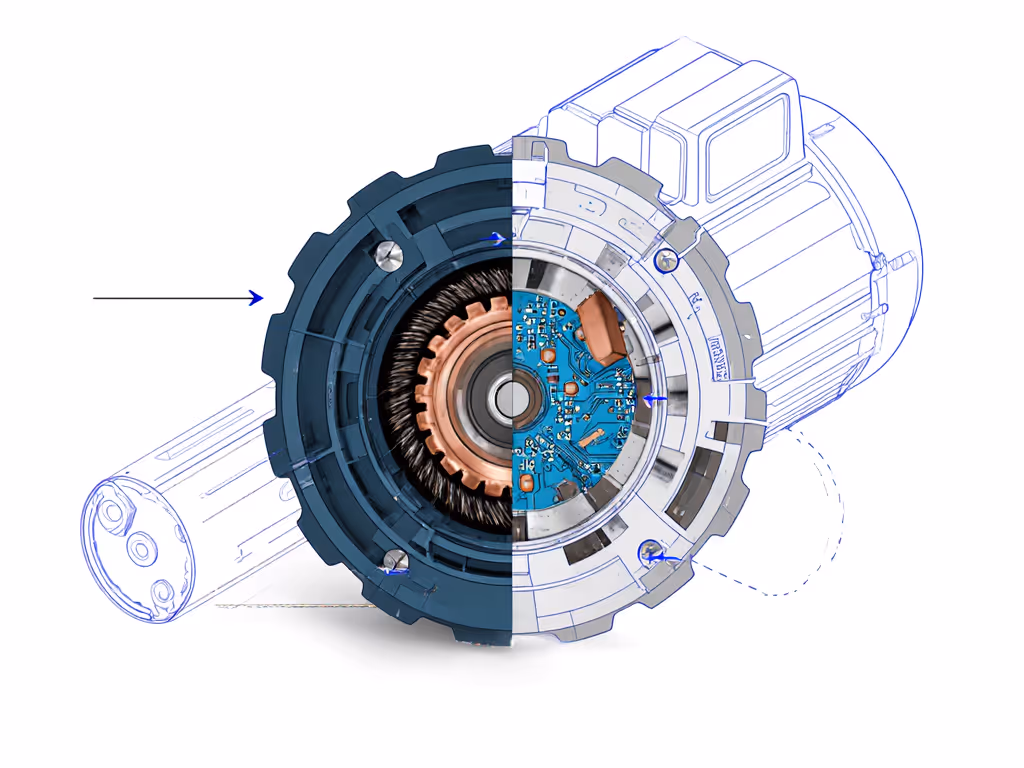
Now picture a brushless motor technology setup: electronic sensors replace physical brushes. Magnets on the rotor get "pulled" by electromagnetic fields in the stator, controlled by a smart circuit board. No contact. No friction. No wasted energy.
Key insight: Brushless drills don't create extra power, they preserve it. Energy that brushed motors burn as heat gets redirected to your task. That's why you'll drill 30% more 3" deck screws per charge.
2. Brushed vs Brushless: The Real-World Differences That Matter
You'll see specs like "50% more runtime," but how does that translate to your project? Based on 200+ student demos in my makerspace, here's what actually changes:
| Factor | Brushed Drill | Brushless Drill | Why It Matters |
|---|---|---|---|
| Runtime | Dies fast under load (e.g., 120 screws on SPF wood) | Smooth decline (e.g., 160+ screws same task) | Fewer battery swaps mid-project = less frustration |
| Heat Buildup | Gets hot after 5 mins of masonry drilling | Stays cool for 20+ mins | No thermal throttling = consistent hole depth |
| Weight | Heavier (brushes + copper windings) | Lighter (simplified internals) | Less wrist fatigue on overhead work |
| Precision | Jerky low-speed control | Butter-smooth clutch engagement | Cleaner pilot holes in cabinet doors |
Last month, a hesitant student was struggling to drill straight pilot holes in cabinet backs. We swapped her brushed drill for a brushless drill with mid-speed clutch settings (and click), her first hole sank perfectly. She high-fived me, then upgraded to a two-battery kit instead of three gimmicky tools. Momentum matters; the right first steps stick.
3. Why Brushless Motor Benefits Solve Your Biggest Pain Points
Let's connect specs to solutions for DIYers like you:
-
Short runtime? Brushless motors convert 85%+ of battery energy into work (vs. 60-70% for brushed). Translation: A 2.0Ah battery lasts like a brushed 3.0Ah pack. No more counting screws per charge.
-
Heavy tools causing fatigue? Eliminating brushes shaves 15-20% off weight. For a 4lb drill, that's 10oz saved, critical when drilling above your head.
-
Inconsistent clutch performance? Brushless controllers adjust torque in real-time as material resistance changes. You'll feel zero "kick" when screwing into dense oak.
-
Platform anxiety? Brushless is now the standard across major ecosystems (Makita, DEWALT, Milwaukee). Starting here future-proofs your kit.
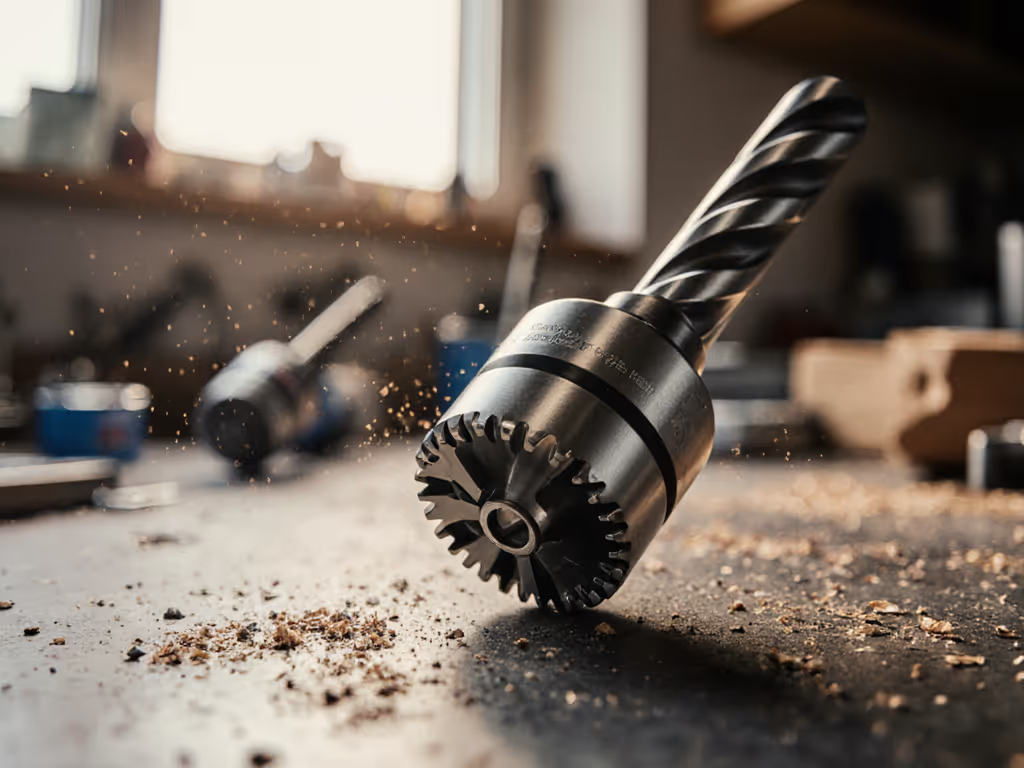
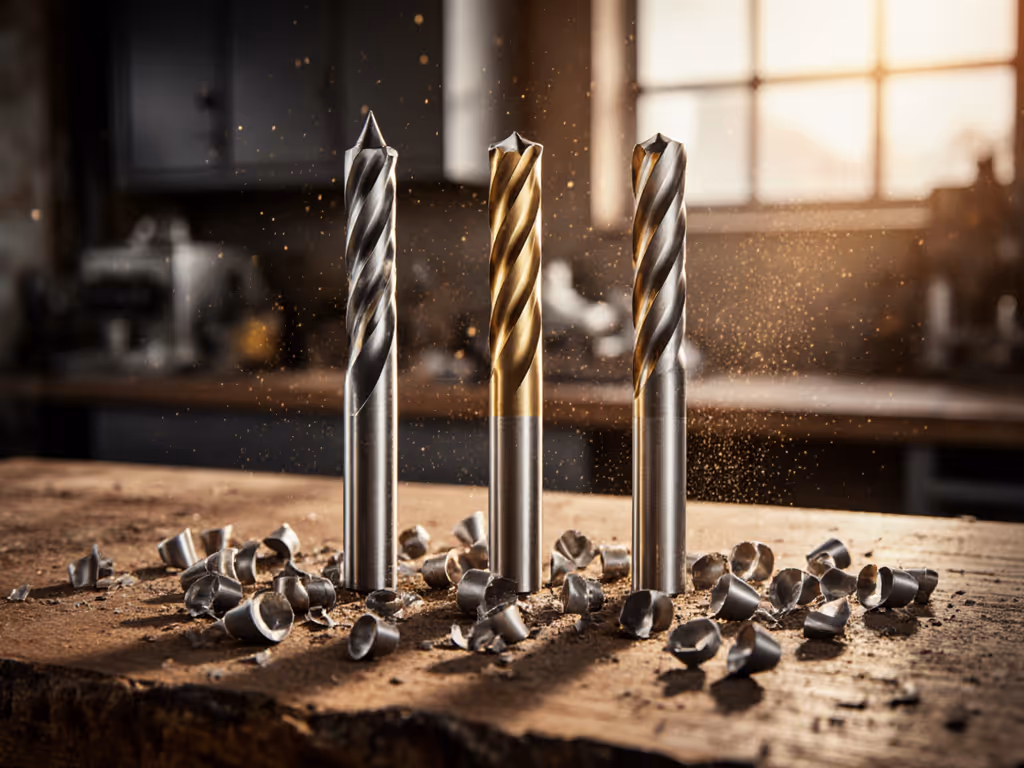
⚠️ Safety reminder: Always match bit selection to your drill's capabilities. A worn twist bit on a high-torque brushless drill can shatter. Practice on scrap; then commit.
4. Your No-Regrets Brushless Drill Buying Checklist
Avoid buyer's remorse with this 5-minute evaluation:
-
Task Audit: List your next 3 projects (e.g., "assemble IKEA desk," "build fence posts"). If most need <300 in-lbs torque, skip pro models.
-
Battery Reality Check: Buy two batteries minimum. For brushless drills, 2.0-4.0Ah packs handle 90% of DIY tasks. Save 5.0Ah+ for contractors.
-
Ecosystem Test: Does your "starter" drill share batteries with impact drivers/saws you'll need later? (e.g., DEWALT's 20V MAX* or Makita's 18V LXT) For help choosing a platform, see our battery platform compatibility guide across DEWALT, Milwaukee, and Ryobi.
-
Clutch Feel: Demo the trigger. Smooth low-speed control = cleaner countersinks. Jerky response = stripped screws.
-
Weight Check: Hold it with your working hand. If your wrist shakes after 20 seconds, it's too heavy for long sessions.
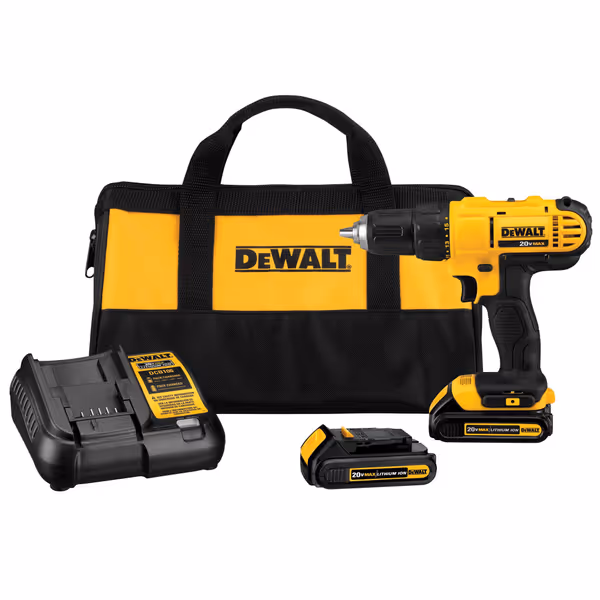
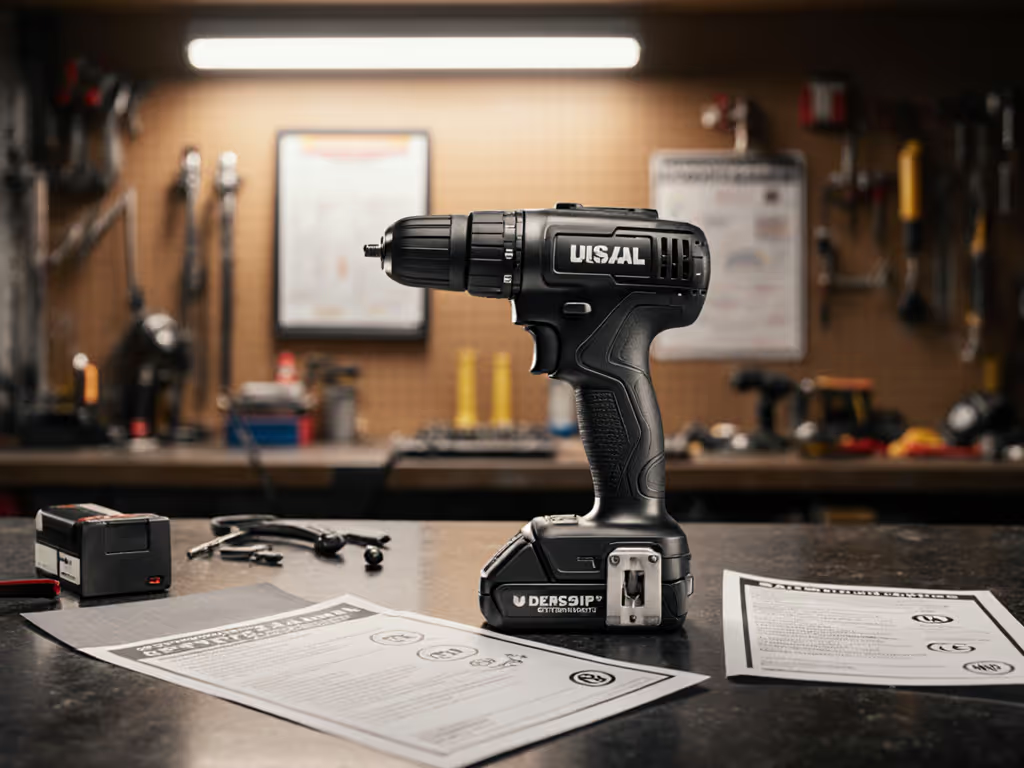
DEWALT 20V Max Cordless Drill/Driver Kit
Compact, powerful, and versatile for a wide range of tasks.
$116.75
Max Power (UWO)300
Max Power (UWO)300
Pros
Lightweight, balanced design reduces fatigue
Strong motor handles diverse drilling/fastening
Excellent value for long-term platform investment
Cons
Battery life feedback is inconsistent
Customers find this cordless drill to be a quality tool that works well and is easy to use, particularly appreciating the simplicity of attaching bits. They praise its power, with one customer noting it's strong enough to drill through anything, and its lightweight design that's not too heavy to use for extended periods.
Customers find this cordless drill to be a quality tool that works well and is easy to use, particularly appreciating the simplicity of attaching bits. They praise its power, with one customer noting it's strong enough to drill through anything, and its lightweight design that's not too heavy to use for extended periods.
Pro tip: Many makerspaces (including mine) offer free drill demos. Test a DEWALT 20V MAX* compact model like the DCD771C2, it's ideal for beginners with 300 UWO power and sub-4lb weight. Practice on scrap; then commit.
5. What Brushless Doesn't Fix (So You Don't Overpay)
Brushless motor technology isn't magic. It won't:
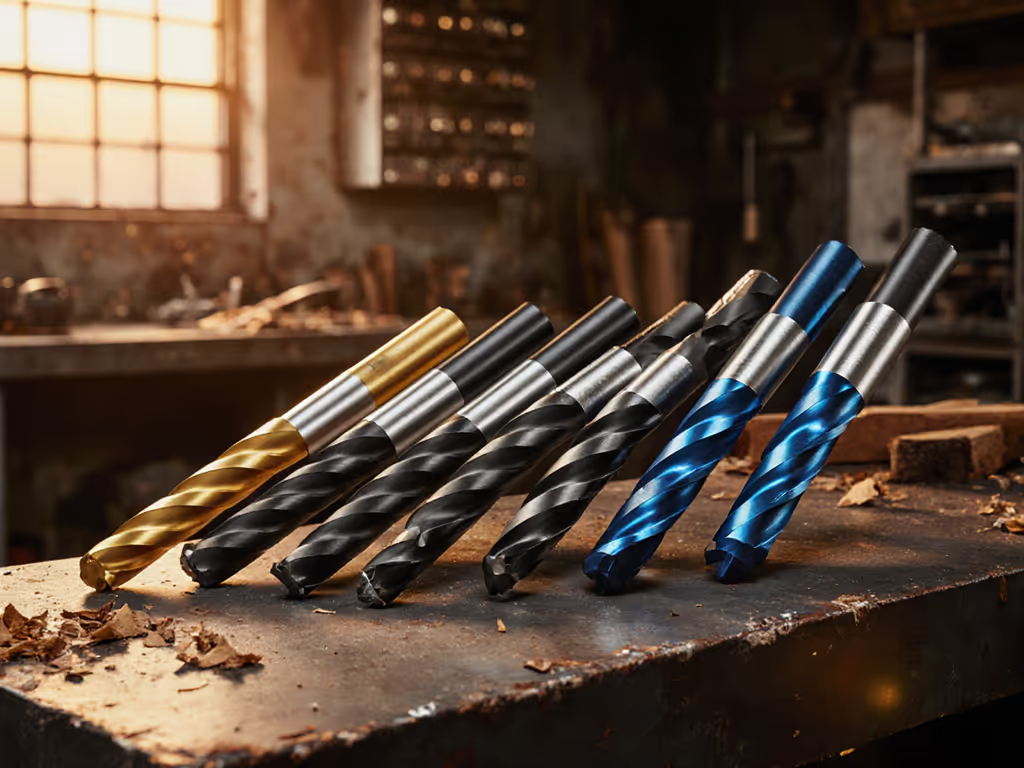
- Compensate for dull bits (replace every 200 holes)
- Prevent chuck slippage (clean jaws monthly with a toothpick)
- Extend battery life in extreme cold (store packs at room temp)
You still need foundational skills: proper bit depth stops, correct clutch settings, and safety glasses. But once those are locked in? Brushless becomes your secret weapon for predictable results.
Your Actionable Next Step
This weekend: Borrow a brushless drill from a friend or library tool-lending program. Drill 10 identical pilot holes in scrap wood:
- First 5 with a brushed drill (if available)
- Next 5 with brushless
- Compare battery drain, heat, and hole consistency
You'll feel the difference in control and stamina. When you're ready to invest, pick one ecosystem with clear expansion paths, then start simple. Your future self (and sore wrists) will thank you.
Remember: Confidence compounds when your first kit matches your first jobs. Practice on scrap; then commit.
Related Articles