Family-Friendly Cordless Drills for Playful Projects
By Mei Tanaka • 10th May
Introduction: Why Control Matters More Than Power
When a drill feels unpredictable in your hand (or worse, in a child's hand), no amount of headline torque compensates. I learned this years ago while prototyping a handle for a building manager. I'd tapped coins along a drill's barrel until a novice operator stopped tilting holes under load. The fix wasn't grip strength; it was balance. Since then, I've timed tasks and tracked forearm burn across hand sizes because the math is clear: smoother control finishes faster, saves your wrist, and, critically for family projects, keeps everyone safer.
Family-friendly drill applications aren't about peak power. They're about predictability. Whether your project is a playful drill use like a bubble maker, an educational drill project with kids learning tool handling, or simple household tasks, the same principle holds: balanced weight and clean triggers beat headline torque every day.
This guide walks you through selecting and setting up a cordless drill that feels stable in smaller hands, responds consistently to light trigger pressure, and won't exhaust anyone mid-project.
Step 1: Understand What 'Family-Friendly' Actually Means
Family-friendly drills prioritize three factors that commodity drills often ignore:
- Balance point location: where the tool tips from light to heavy. Ideally 4-6 inches forward of the rear handle, not dangling at the chuck.
- Trigger modulation: how much the speed increases across the trigger's 8-12 mm travel. Smooth, linear triggers beat hair-trigger models that jump from 0 to 1000 rpm.
- Vibration frequency and amplitude: low frequencies (under 10 Hz) and damped response, not a harsh buzz that numbs fingers after 20 minutes.
These metrics are measurable and matter for anyone, but they're essential when the user is smaller, less experienced, or tiring more easily. A drill with poor balance point and coarse trigger response turns a $50 shelf project into a frustration fest and a real fatigue risk.
Predictable under load: that's what separates a tool that teaches from one that discourages.
Why Battery Voltage Matters Less Than You'd Think
An 18V or 20V drill will be overkill for a kids activity power tool project. Most safe drill play techniques don't demand high torque; they demand fine control. Many family-friendly applications run better on compact 12V or even 10.8V packs, which ship with lighter batteries and often lower overall tool weight. Lower voltage doesn't mean less capable. It means higher precision at the speeds and pressures you'll actually use. For a deeper breakdown of trade-offs, read our 12V vs 18V guide.
Step 2: Map Your Playful Project Category
Different projects demand different drill behaviors. Identifying yours narrows your search sharply.
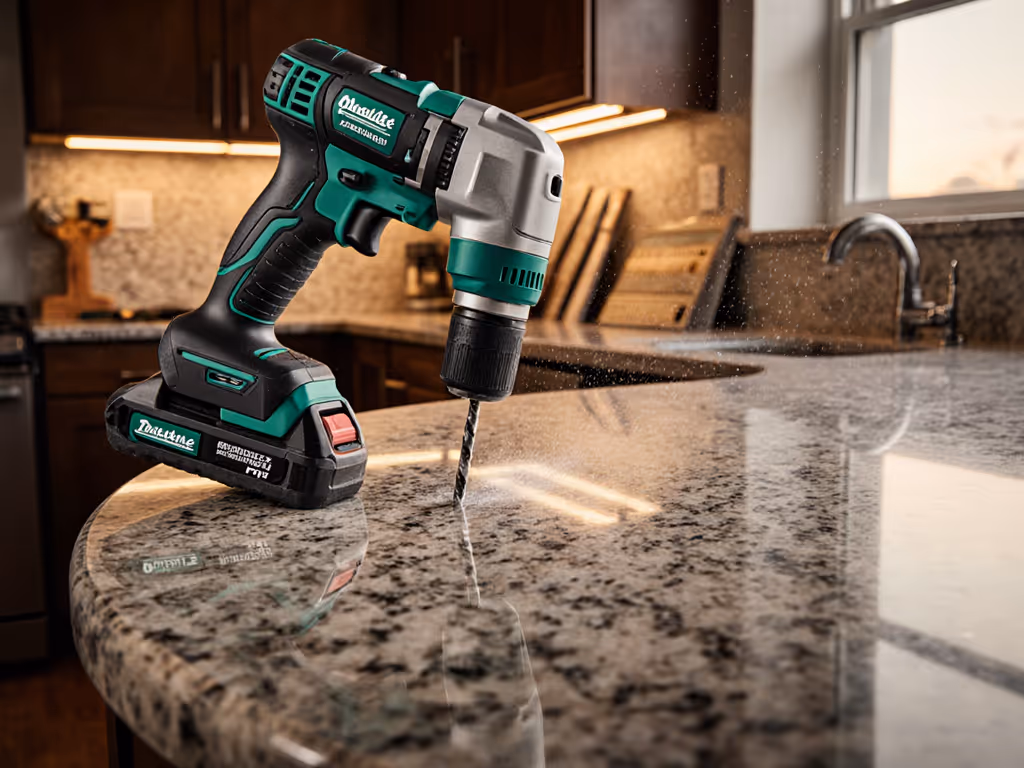
Bubble Maker Drill Setup
A bubble maker drill setup is the classic playful project: a cup of bubble solution, a wand holder attached to the chuck, and slow-speed rotation to generate bubbles. This task asks for:
- Very low speed (100-300 rpm) with no hunting or surging
- Minimal vibration (even small vibrations shake the solution and ruin bubbles)
- Lightweight and comfortable in one hand for extended holds
- Gentle trigger response, no sudden acceleration
A standard 18V drill in hammer-drill mode or with poor trigger smoothing will overshoot and fail. A compact, brushless drill with a multi-speed transmission (or simple two-speed) is ideal.
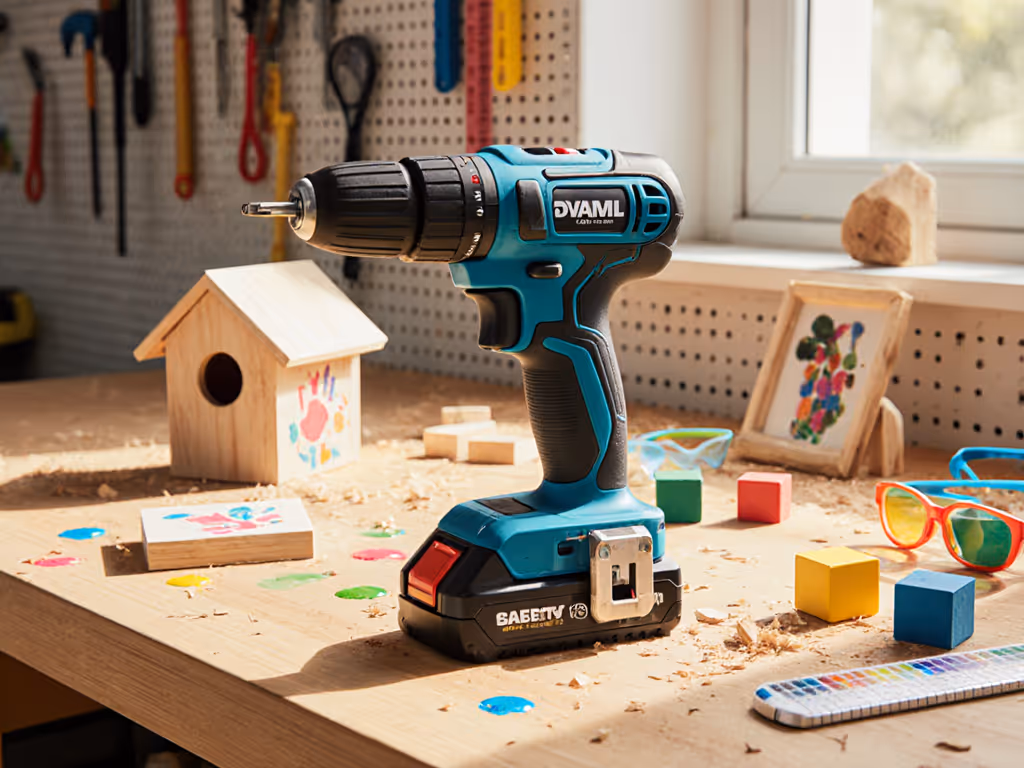
Educational Drill Projects
Educational drill projects teach kids the mechanics of fastening, hole-making, and tool control. Examples: drilling holes in wood for pegs, driving screws into a practice board, learning the difference between speed and torque. These need:
- Adjustable torque or a smooth clutch that prevents stripping screws
- Clear tactile feedback when the chuck stops (doesn't slip mid-project)
- Lightweight frame so kids aren't fighting fatigue
- Quiet operation (90 dB or lower; loud noise compounds stress)
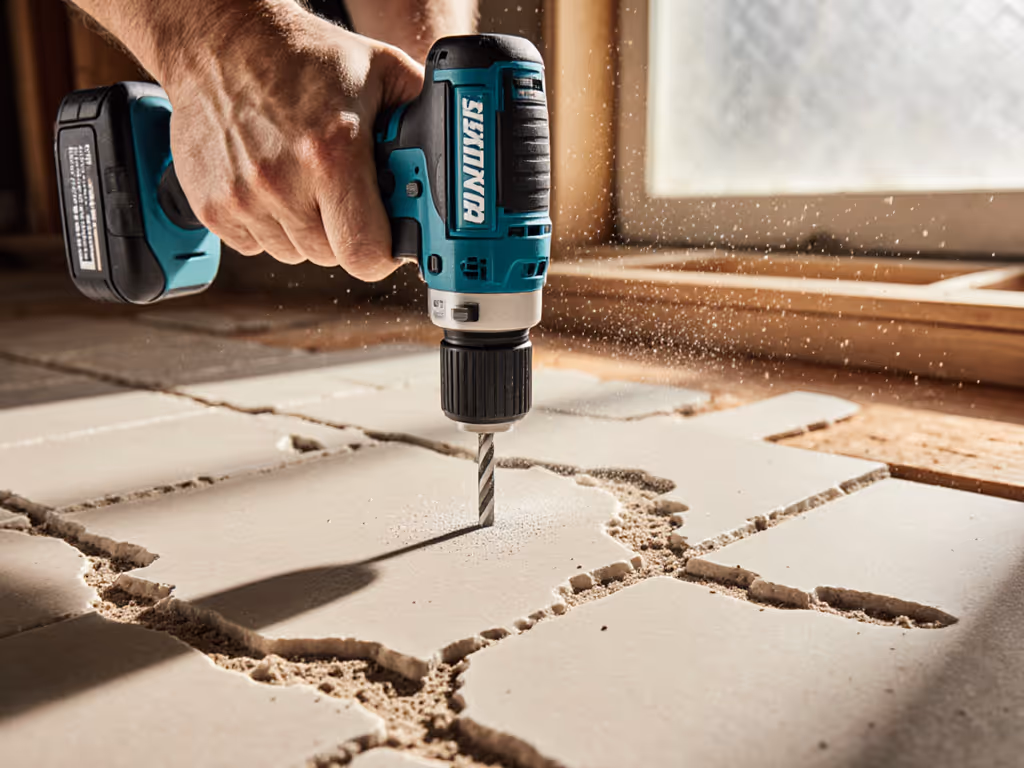
Outdoor Family Projects
Building a swing set, deck boards, or fence rails involves more power but still benefits from balance and control. Safe drill play techniques here include:
- Using a depth stop or tape marker to prevent over-drilling
- Keeping the drill perpendicular with both hands
- Taking breaks to avoid fatigue-induced slips
- Using a lower speed for accuracy, higher for speed when you've confirmed alignment
DIY Sensory or Creative Projects
Drilling dowels to make wind chimes, creating drainage holes for planters, or spinning objects for art installations. These emphasize:
- Consistency (the same speed and feel every time)
- Low noise and vibration (comfort for extended sessions)
- Compact form factor (sometimes held at awkward angles)
Step 3: Evaluate Trigger Response and Modulation
The trigger is your direct interface with predictability. Here's what to test on a drill before committing:
Test Protocol: Trigger Travel and Break Point
- Measure trigger travel. Press slowly from fully off to full speed. It should take 8-12 mm of movement, not 3-4 mm (which feels twitchy) or more than 15 mm (which feels sluggish).
- Check the break point. At low pressure (around 25-30% through the trigger travel), the drill should spin at maybe 200-300 rpm, smooth and controlled, not jerky. This is where kids activity power tools earn their safety rating: low speed, repeatable, and easy to stop.
- Listen for smoothness. As you increase trigger pressure, rpm should climb steadily. If the motor sounds like it's hunting (speed oscillating by ±50 rpm), the electronic speed control is coarse, and precision work suffers.
- Test the return. When you release, the motor should coast to a stop within 1-2 seconds, not hang at partial speed or surge back up.
A drill that passes this test feels predictable under load. One that doesn't will tire the user faster and introduce error.
Step 4: Assess Balance and Weight Distribution
Weight isn't just about total pounds. Balance point is the real story.
Balance Point Test
- Hold the drill at the rear handle with one finger, horizontal, as if balancing a pencil on your finger.
- Where does it tip? Ideally, 4-6 inches forward of your finger (between the chuck and the handle midpoint). If it tips at the motor housing or dangling past the chuck, the tool will cause wrist strain during overhead or angled work.
- Compare two drills side by side. The one that feels lighter in your hand, even if it is technically the same weight, is better balanced. That's the difference between a 3.5 lb tool at the wrist and a 5 lb tool at the elbow.
For family projects, a tool under 3.5 lbs with a forward balance point is ideal. Anything over 4 lbs becomes work after 30 minutes, even for adults.
Step 5: Measure Vibration and Noise
Vibration is tactile noise. High-frequency buzz (15+ Hz) numbs fingers and raises fatigue markers (tremor in follow-up precision tasks, wrist soreness). Low-frequency vibration (under 8 Hz) is dampened well by brushless motors.
Simple Vibration Assessment
- Hold the drill at arm's length while it idles (no load).
- Can you see your hand trembling, or does it feel smooth?
- Now drill into softwood at half speed. Does the vibration increase sharply, or stay controlled?
Brushless drills almost always win here. They produce less electrical noise and fewer mechanical harmonics. For safe drill play techniques, low vibration means safer control, less fatigue, and happier operators. For techniques to diagnose and fix excess buzz, see drill vibration control tips.
Noise test: A family-friendly drill should measure under 90 dB at arm's length during drilling. That's loud enough to hear, not so loud that conversation becomes difficult or ears ring after 20 minutes.
Step 6: Run a Live Playful Project Test
Before finalizing your purchase, trial the drill on your intended use case.
Bubble Maker Trial (15 minutes)
Set up a cup of bubble solution, attach a simple wand holder to the chuck (use a #10 rubber stopper and poke a wand through), and run at 200 rpm for 5 minutes. Check:
- Does the solution stay calm, or do vibrations shake it?
- Does speed hold steady, or does the motor hunt?
- Does your hand feel tired or steady?
Screw-Driving Trial (20 screws into pine)
Drive #8 wood screws into 3/4" pine at 50% trigger pressure. Use a new screw for each pass, no re-driving.
- How many clean insertions before fatigue sets in?
- Did any strip or drift sideways?
- Did the chuck slip on any screw?
Control Test: Drilling Perpendicular Holes
Drill five 1/2" holes in scrap wood, aiming for perpendicular to the grain. Use a speed between 500-800 rpm, both hands on the drill, and walk away from each hole. Measure deviation from perpendicular with a combination square.
- Deviation under 2 degrees = excellent control
- 2-5 degrees = acceptable for family projects
- Over 5 degrees = poor balance or trigger response
This live feedback is worth more than specs because it mirrors how the tool will actually perform in your hands.
Step 7: Compare Compact vs. Standard Batteries for Your Setup
Family-friendly drill applications often run on compact batteries (1.3-2.0 Ah, compact form factor) to keep total tool weight down. Standard batteries (2.0-4.0 Ah, longer runtime) are heavier but allow longer sessions without swaps.
Decision Matrix
| Project Type | Recommended Battery | Reasoning |
|---|---|---|
| Bubble maker (continuous, 30–60 min sessions) | Compact 1.3-2.0 Ah | Weight critical; modest energy draw; OK to swap mid-session |
| Educational projects (short bursts, 15–20 min) | Compact 1.3 Ah | Fast charging, very light; perfect for kids' hands |
| Outdoor family builds (2–4 hour sessions) | Standard 2.0-3.0 Ah | Runtime needed; adults can manage the weight |
Compact batteries run 30-45% lighter than standard packs at the same voltage and reduce overall system weight by 1-2 lbs. That's meaningful when fatigue matters.
Step 8: Set Up Your Drill for Maximum Control and Safety
Bubble Maker Assembly
- Insert a size #10 rubber stopper (hobby store, $2) into the chuck, tighten with one hand.
- Poke a standard bubble wand through the hole in the stopper.
- Fill a 12 oz cup three-quarters full with bubble solution (1 part dish soap to 6 parts water, 1 tablespoon corn syrup per cup for longevity).
- Set speed to 200-250 rpm using the dial (if available) or 30% trigger pressure.
- Lower the wand into the solution and apply continuous light pressure; it will spin and generate bubbles. Session duration: 2-3 minutes before solution depletes.
Educational Project Setup
- Install a depth-stop collar on the bit shaft if your drill supports it (prevents over-drilling).
- Mark target depth with a wrap of masking tape on the bit 1/8" proud of your target.
- For screw driving, set the torque clutch (if available) to "2" and test on scrap; adjust up if screws strip, down if they're underdriven.
- Use a level or speed square to pre-mark perpendicular lines on your workpiece.
Safety Rules for All Playful Projects
- No loose hair or clothing near the chuck; tie back and wear fitted sleeves.
- Both hands on the drill when starting each hole (prevents sudden torque if the bit catches).
- Check the chuck before each session; ensure the bit or adapter is secure (no more than 1/16" of wobble).
- Wear eye protection if anyone under 12 is operating the tool.
- Never leave the drill unattended while spinning.
- Use a cordless (not corded) to eliminate tripping hazards in group settings. Before you start, review our cordless drill safety checklist for PPE, setup, and safe operation.

Comparison: Three Family-Friendly Scenarios
| Scenario | Ideal Drill Profile | Why |
|---|---|---|
| Backyard Bubble Station (kids, 5–10 minutes) | Compact, 12V, 2.5-3 lbs, ultra-smooth trigger, low vibration | Weight and balance critical for small hands; power unnecessary; vibration undermines bubble quality |
| Home Ed / Screw-Driving Practice (kids + parent, 20–30 min) | Compact to mid-size, 18V, 3.5-4 lbs, adjustable torque, quiet (under 85 dB) | Precision and speed variety needed; weight acceptable for mixed hands; noise impacts learning environment |
| Family Deck Build (adults, 3+ hours) | Mid-size, 18V or 20V, compact 2.0 Ah batteries (two packs rotated), 4-4.5 lbs, impact driver optional | Higher speed range and torque needed; weight manageable for adults; ergonomics prevent mid-project fatigue |
Further Exploration: Building Your Ecosystem
Choosing one drill is just the start. As your family's projects evolve, you'll want to expand without duplicating batteries or chargers. To plan long-term additions without battery headaches, use our battery platform comparison. Here's a simple roadmap:
- Start: Compact cordless drill, one 2.0 Ah battery, fast charger.
- Add (Year 2): Impact driver on the same battery platform (1.3 Ah pack, lighter).
- Add (Year 3+): Hammer drill or a specialized tool (chainsaw, circular saw) on the same ecosystem.
This approach keeps your charging infrastructure simple, your storage footprint small, and your learning curve shallow. Each tool feels familiar because the balance and trigger response belong to the same family.
Next Steps for Your Research
- Visit a local tool retailer and test the trigger travel and balance point on two or three compact drills side by side. Spend 5 minutes with each one; your hand will tell you which is smoother.
- Read owner reviews focused on trigger feel and weight distribution, not just headline torque or price.
- Borrow or rent a compact 12V drill for a weekend bubble-maker project; it's the cheapest way to trial before committing.
- Once you've chosen your platform, plan your battery rotation strategy: one charging while you work with the other.
--
Closing Note
The drills that feel best for family projects are the ones that prioritize predictability over flashy specs. A 12V with a smooth trigger, light weight, and forward balance point will outperform a 20V powerhouse that's twitchy and heavy. Test before you buy, measure trigger travel and balance point, and run a live trial on your intended task. The science backs it up: comfort and predictability under load is where performance truly lives. Your family projects deserve a tool that earns its place in your hand through consistency, not just horsepower.
Related Articles